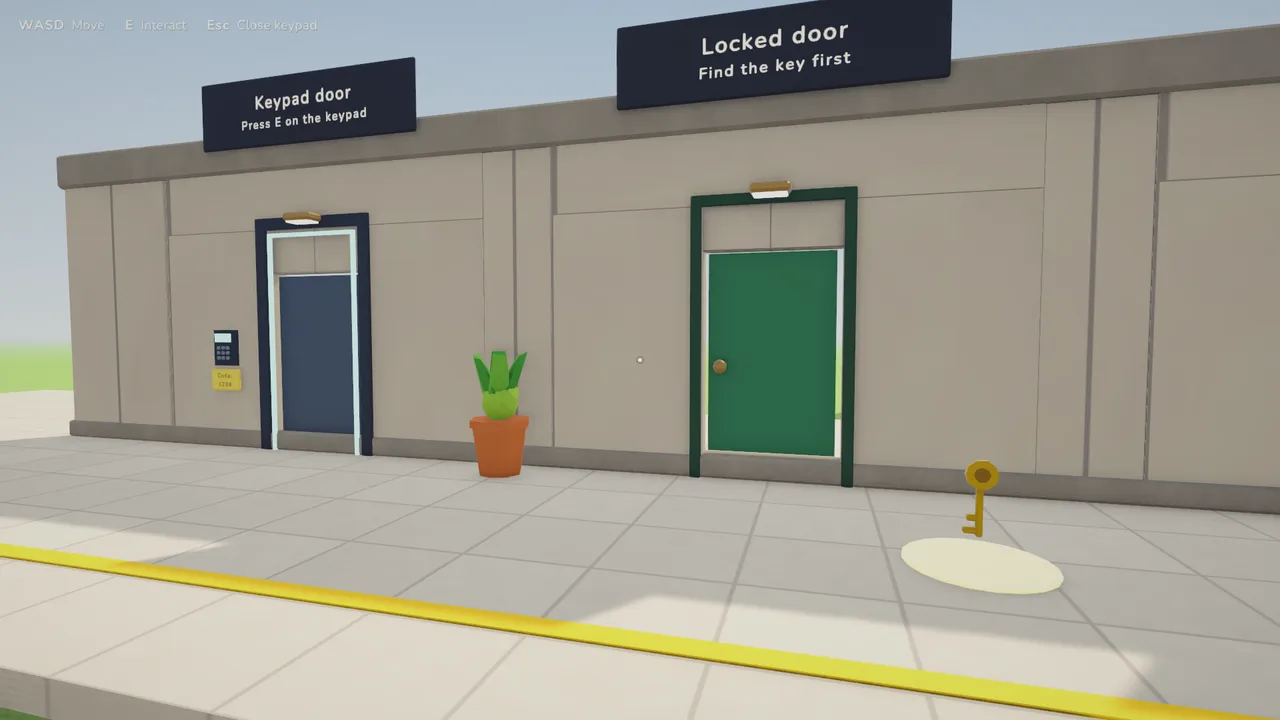
1. Mark what can be picked up
Give every pickable object a small component with its name and icon. The inventory looks for this component instead of tags, so designers can't forget a tag.
using UnityEngine;

[RequireComponent(typeof(Rigidbody))]
public class InventoryItem : MonoBehaviour
{
    public string displayName = "Item";
    public Sprite icon;
}
2. Look, prompt, pick up
Cast a short ray from the camera every frame. If it hits an item, show its name; if the player presses E, store it.
using System.Collections.Generic;
using UnityEngine;
using UnityEngine.InputSystem;

public class Inventory : MonoBehaviour
{
    public Transform cam, hand;
    public float reach = 2.5f;
    readonly List<InventoryItem> items = new();
    int selected;

    void Update()
    {
        var kb = Keyboard.current;
        if (Physics.Raycast(cam.position, cam.forward, out var hit, reach)
            && hit.collider.TryGetComponent(out InventoryItem item)
            && kb.eKey.wasPressedThisFrame)
            PickUp(item);

        float scroll = Mouse.current.scroll.ReadValue().y;
        if (scroll != 0 && items.Count > 0)
            Select((selected + (scroll > 0 ? 1 : -1) + items.Count) % items.Count);

        if (kb.gKey.wasPressedThisFrame && items.Count > 0) Drop();
    }

    void PickUp(InventoryItem item)
    {
        item.GetComponent<Rigidbody>().isKinematic = true;
        item.GetComponent<Collider>().enabled = false;
        item.transform.SetParent(hand, false);
        items.Add(item);
        Select(items.Count - 1);
    }

    void Select(int index)
    {
        selected = index;
        for (int i = 0; i < items.Count; i++)
            items[i].gameObject.SetActive(i == selected);
    }

    void Drop()
    {
        var item = items[selected];
        items.RemoveAt(selected);
        item.transform.SetParent(null, true);
        item.GetComponent<Collider>().enabled = true;
        var rb = item.GetComponent<Rigidbody>();
        rb.isKinematic = false;
        rb.AddForce(cam.forward * 3f, ForceMode.VelocityChange);
        if (items.Count > 0) Select(Mathf.Clamp(selected, 0, items.Count - 1));
    }
}3. Add the hotbar UI
A hotbar is a row of slots: an Image per slot showing items[i].icon, and a highlight on selected. Rebuild it whenever the list changes rather than every frame. Raise a C# event (public event System.Action Changed;) from PickUp, Select and Drop and let the UI listen.
Build it or buy it?
| Build from this guide | Inventory System ($7.99 tier) | |
|---|---|---|
| Pick-up prompt with item name | Add yourself | Included |
| Hotbar with icons and highlight | Add yourself | Included |
| Number keys 1-9 and mouse wheel | Wheel only | Both |
| 8 sample items with icons, demo scene | No | Included |
| Time to first playable | An afternoon or two | Minutes |
If you want to learn, build it. If you want to move on to your actual game, the Inventory System ships this with full source so you can still change everything. Add the Save & Load System to keep items between sessions, and the Door System for keys that open locked doors.
Questions
For item definitions (name, icon, stats) shared across many instances, yes. For picking up physical objects in the world, a component on the object, as above, is simpler.
Replace Keyboard.current.eKey.wasPressedThisFrame with Input.GetKeyDown(KeyCode.E) and the scroll with Input.mouseScrollDelta.y.
Who wrote this
Imersa Studios builds the Unity systems, low poly packs and field guides sold on itch.io. The code and techniques here come from shipping those products. More about the studio.